|
|

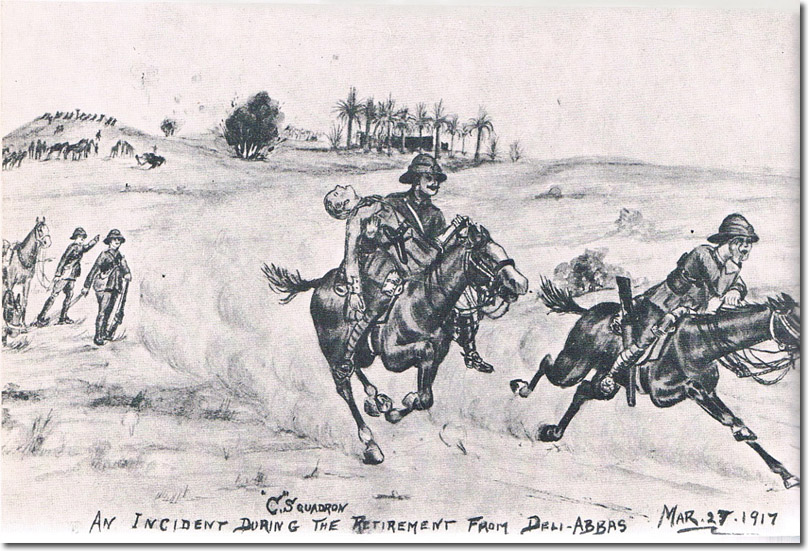 |
| C Squadron had a tough time on this battle. One Troop were forced to remain in position longer than was comfortable, to cover the withdrawal of the 22nd's ambulance wagons. This drawing by Private Baggott depicts the rescue of Lieutenant Hamer of C Squadron by Farrier-Sergeant Hayward while a private gallops in front calling for help. On the left of the picture a dismounted Troop form a firing line on the crest of a hill, with their led-horses kept out of view. |
Armed Forces | Art and Culture | Articles | Biographies | Colonies | Discussion | Glossary | Home | Library | Links | Map Room | Sources and Media | Science and Technology | Search | Student Zone | Timelines | TV & Film | Wargames
