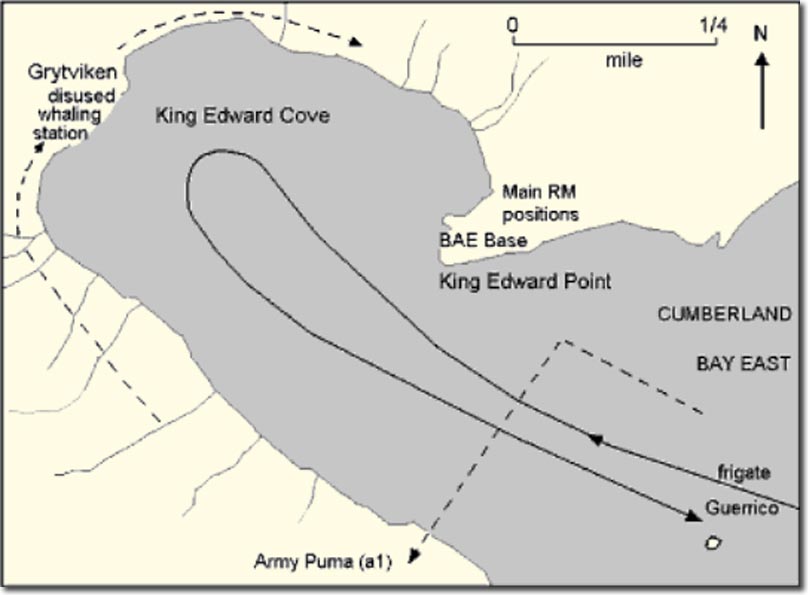
This map shows where the 22 Royal Marines under Lieutenant Keith Mills were stationed as they fought off the arrival of an Argentine Puma and frigate before being cut off themselves and being forced to surrender.