|
|

|
|
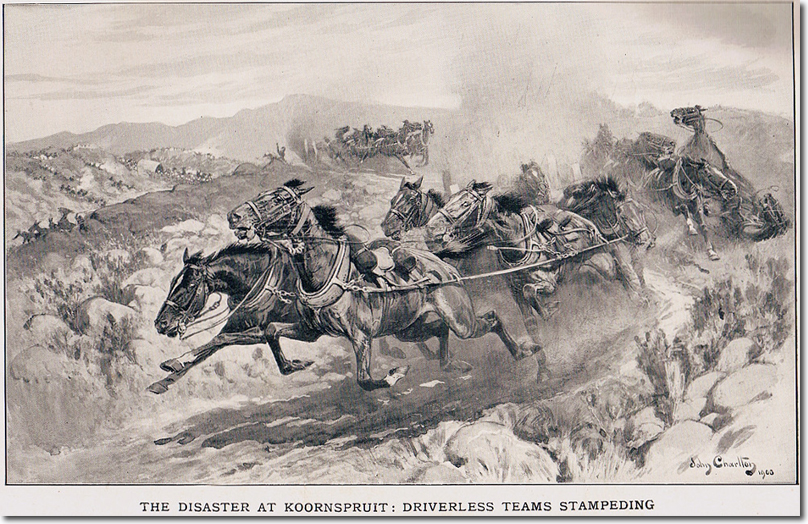
John Charlton’s painting of driverless teams stampeding away from the Boer Ambush conveys the confusion and terror when de Wet’s Boers opened fire on Broadwood’s column. The ambush took place at Koorn Spruit, a small tributary of the River Modder, about five miles west of Sanna’s Post where the column had camped for the night. This scene may have been inspired by the eye witness account of Sergeant-Major Martin of U Battery RHA. He managed to escape capture when U Battery was forced to surrender, and ride back to warn the rest of the column.
‘The bullets came like hailstones. It was a terrible sight. One gun and its team of horses galloped away; by some means or other it was pulled up. I took possession of it, still under this heavy fire, and, finding one of our drivers, I put him in the wheel, and drove the leaders myself. We had between us 14 horses. I drove in the lead for about six miles, following the cavalry, who had gone on to see if we could get through. Eventually, after several hours, I got into safe quarters.’ |
Armed Forces | Art and Culture | Articles | Biographies | Colonies | Discussion | Glossary | Home | Library | Links | Map Room | Sources and Media | Science and Technology | Search | Student Zone | Timelines | TV & Film | Wargames
