|
|

|
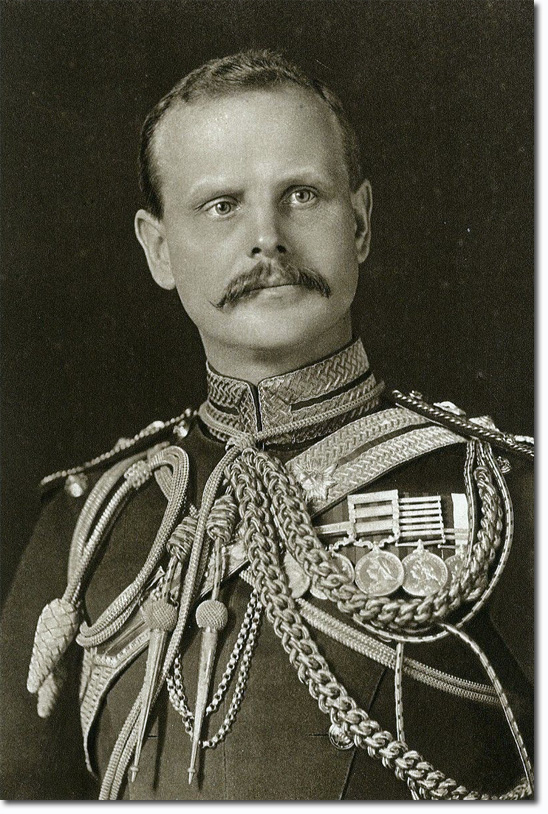
| Birdwood was the British Commander of the newly raised ANZAC division. From the outset he was strongly opposed to any landings on the Helles beaches of the Gallipoli peninsula as he realised that the vital element of surprise had been lost. In this he was strongly supported by Aylmer Hunter-Weston (29th division), Archibald Paris (Royal Naval division), and Sir John Maxwell (general officer commanding, Egypt). Hamilton stuck firmly to the plan to land the 29th division at Helles and rejected Birdwood's arguments for a landing on the Asiatic shore of the Dardanelles.
The role of the Anzac corps was to land on the Peninsula at a point just north of the conspicuous promontory of Gaba Tepe on the western shore of the Gallipoli peninsula and advance eastwards to the eminence of Mal Tepe, thus cutting off the Turkish forces opposed to the 29th division at Helles. Birdwood determined to land his covering force at first light, with no preliminary naval bombardment, in order to achieve the maximum of surprise. The combined assault took place on Sunday 25 April. The Anzac covering force, for reasons which have never been satisfactorily explained, landed in some confusion well to the north of Gaba Tepe in a small bay subsequently known as Anzac Cove. In spite of this initial error the surprise was almost complete, and some units penetrated deep inland against hastily gathered Turkish resistance. The momentum of the advance was not maintained. Colonel Mustafa Kemal, commanding the Turkish 19th division at Boghali, engaged all available forces. The steep cliff and precipitous gullies above Anzac Cove became the scenes of fierce and unco-ordinated fighting throughout the day. By evening a thin drizzle was falling on the exhausted dominion troops, Anzac Cove was the scene of serious congestion and confusion, and the ground secured was in fact a small perimeter which penetrated inland barely a thousand yards in places. In these depressing circumstances, Birdwood's divisional commanders urged him to recommend evacuation. Against his own inclinations Birdwood did so. In the general confusion the message was not addressed to anyone and it was only by chance that Hamilton received it. His reply was a firm order to hold on. For six months the Anzacs defended their wretched, tiny, and arid fragment of coast, overlooked by the enemy and constantly exposed to their fire. Intense heat and disease subsequently added to the already severe burdens of the resolute dominion troops. Birdwood may be faulted for certain aspects of his handling of Anzac operations, and particularly for the failures of the night attacks of 2–3 May and for the heroic but poorly commanded attempt to seize the Sari Bair heights on 6–9 August. He may also be criticized for failing to appreciate until too late the debilitating effects of sickness on the Anzac troops which played a significant part in the failure of the August attacks. But in defence his confident and determined example and bearing fully merited the tribute from Hamilton that he was 'the soul of Anzac'. Birdwood was one of the very few British commanders to leave Gallipoli with an increased reputation. In one respect he was fortunate. The failure of the 9th corps under Sir Frederick Stopford at Suvla on 6–9 August obscured the errors of Birdwood and Alexander Godley at Anzac, both then and later. When, following Hamilton's recall in October, Sir Charles Monro recommended evacuation, Kitchener wanted to appoint Birdwood in his stead. Birdwood, greatly to his credit, protested and the proposal was shelved. It was ironic that Birdwood, the only senior commander initially opposed to evacuation (he subsequently agreed that the decision was right), should eventually be in executive command of the evacuation, as commander of the Dardanelles army under Monro, when the cabinet decided upon it. This brilliantly successful operation in December 1915 and January 1916 rightly increased his already high reputation. |
Armed Forces | Art and Culture | Articles | Biographies | Colonies | Discussion | Glossary | Home | Library | Links | Map Room | Sources and Media | Science and Technology | Search | Student Zone | Timelines | TV & Film | Wargames
